How to Mock Up a Better Furniture Layout for a Small Studio With Gemini
Use Gemini to test a believable furniture layout on a studio or small room photo before a showing or listing update.
Workflow summary
Quote this workflow accurately
- Best for
- Operators who need a repeatable, practical workflow instead of a blank prompt.
- Input
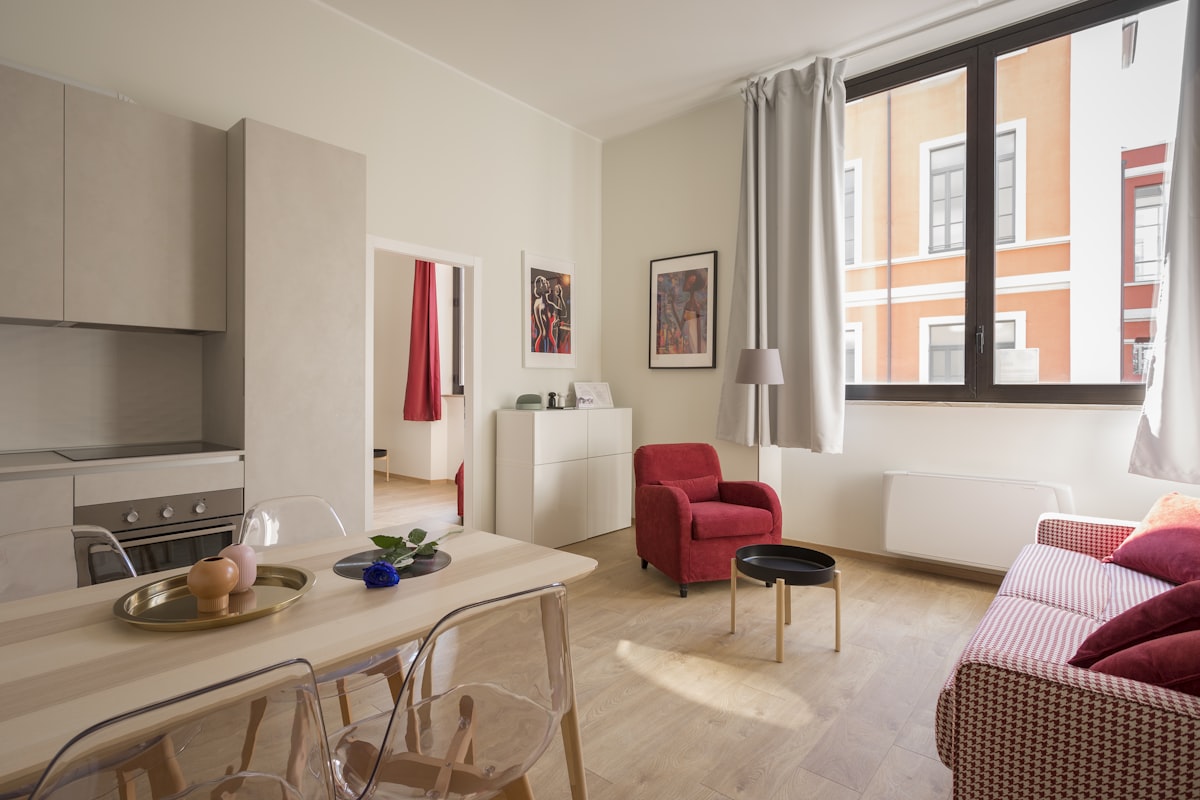
- One clear photo of the studio, loft area, or small room Gemini on desktop or mobile A rough idea of the intended function, such as sleeping area plus desk, or living area plus dining nook
- Primary tool
- Gemini
- Output
- Use Gemini to test a believable furniture layout on a studio or small room photo before a showing or listing update.
- Main risk
- Specify queen, full, or twin. Do not let Gemini guess if bed size drives the whole layout.
- Verification step
- Bed size is believable for the room Doors still open in a plausible way Seating does not block traffic
Continue from this article
Small spaces rent and sell when people can picture how they would actually use them. The hard part is that a studio or small bedroom can look awkward, cramped, or undefined in a raw photo. This workflow helps you use Gemini to test a better furniture layout from one room photo so the space feels usable without pretending it is bigger than it really is.
Warning: This workflow creates concept images and draft marketing assets. Double-check that every final image accurately reflects the property. Do not remove defects, invent permanent features, fake views, or imply finishes, landscaping, or usable space that do not actually exist. Review any final listing copy for fair housing-safe language before you publish it.
Prerequisites
- One clear photo of the studio, loft area, or small room
- Gemini on desktop or mobile
- A rough idea of the intended function, such as sleeping area plus desk, or living area plus dining nook
- A willingness to reject layouts that look attractive but unrealistic
How to capture or gather the source material
Take the photo from the angle that best explains the whole space. Include the entry point, main window, and at least one long wall if possible. For a studio, try to show where the kitchen edge, closet, or bathroom door sits in relation to the open living area. On mobile, you can take the photo directly in Gemini through the camera option. On desktop, upload a photo you already took on your phone or camera.
Step-by-step workflow
1. Decide what the room needs to communicate
For a studio, most buyers and renters want to see three things:
- Where the bed would go
- Whether a small living area can fit
- Whether there is a place to work or eat
Tell Gemini the priority before you ask for a layout.
2. Run a layout-first prompt, not a decor-first prompt
You are not asking for luxury styling first. You are asking for circulation, furniture scale, and zone separation that make sense.
Desktop web app path
- Open Gemini in your browser.
- Upload the room photo.
- Paste the prompt block below.
- Ask Gemini for one primary layout plus one alternate layout, not ten random versions.
- Review which layout makes the room easiest to understand.
Mobile Gemini app path
- Open Gemini on your phone.
- Tap Add files and either pick the room from your gallery or use Camera to capture it on site.
- Paste the same prompt.
- Compare the first two layout concepts while you are still in the room.
{
  "task": "Create a realistic furniture layout mockup for a small studio or compact room using the uploaded photo as the base.",
  "space_type": "studio apartment or compact room",
  "primary_goal": "show a realistic layout that helps viewers understand how the space can actually be used",
  "required_zones": [
    "sleeping area",
    "small seating area",
    "optional desk or dining surface"
  ],
  "must_preserve": [
    "original room shape",
    "window and door placement",
    "kitchen or closet boundaries",
    "visible permanent fixtures"
  ],
  "constraints": [
    "keep walking paths clear",
    "use apartment-size furniture only",
    "do not oversize the bed",
    "do not make the room appear larger than it is",
    "keep the result photoreal"
  ],
  "output_request": "Generate 2 layout concepts from this exact room photo and label them Layout A and Layout B."
}
If the room is extremely tight, tell Gemini which function matters most. That usually leads to better tradeoffs.
3. Pick the layout that solves the biggest confusion
In most small units, the right answer is not the prettiest answer. It is the layout that makes the room legible. Look for the version that answers the question, "Where would I put my bed and still live here?"
4. Refine the winning layout with one practical change at a time
Try one of these refinements:
- reduce the sofa size
- switch to a round table
- move the bed to free the window
- replace the desk with a wall-mounted shelf
- separate the sleeping zone with a rug instead of a divider
{
  "task": "Refine the selected studio layout concept without changing the actual room geometry.",
  "selected_layout": "[A or B]",
  "single_priority_change": "[example: make the sleeping area feel less cramped]",
  "must_keep": [
    "realistic furniture scale",
    "clear walking path",
    "original windows and doors",
    "same camera angle"
  ]
}
Use one main refinement at a time. Multi-part instructions often make small spaces look confused.
5. Use Redo with Pro for the selected version only
When the chosen layout is close but still muddy around edges, proportions, or texture, use More → Redo with Pro on that one image. This is the best time to use it because you already know the layout works.
6. Save the layout with a plain-English note
Add a note such as:
- Best for studio listing hero image
- Best for renter who needs desk space
- Best for daytime showing handout
That makes the output easier to reuse later.
Tool-specific instructions
Gemini is particularly useful here because the workflow can start from an uploaded room photo or a new photo taken directly from the mobile app. The same core prompt works on desktop and mobile, which makes it easy to test a layout while walking a unit and then refine it later at a desk.
Quality checks
Use this checklist before the image leaves your draft folder:
- Bed size is believable for the room
- Doors still open in a plausible way
- Seating does not block traffic
- Window light still makes sense
- The image helps the viewer understand the space rather than distracting them with decor
Common failure modes and fixes
The bed is too big
Specify queen, full, or twin. Do not let Gemini guess if bed size drives the whole layout.
The room looks like a luxury model unit
Ask for simpler finishes, fewer accessories, and renter-realistic furniture.
The image hides awkward corners
Request a layout that keeps all important room boundaries visible.
The alternate layout is too similar to the first
Ask for a different strategy, such as bed against the long wall versus bed tucked into a corner.
Sources Checked
- https://support.google.com/gemini/answer/14286560?hl=en (accessed 2026-03-21)
- https://blog.google/products-and-platforms/products/gemini/image-editing/ (accessed 2026-03-21)
- https://support.google.com/gemini/answer/14903178?hl=en (accessed 2026-03-21)
- https://help.unsplash.com/en/articles/2534407-downloading-photos (accessed 2026-03-21)
- https://help.unsplash.com/en/articles/2646379-what-if-there-s-a-brand-or-identifiable-person-depicted-in-an-image-that-i-download (accessed 2026-03-21)
- https://www.hud.gov/sites/dfiles/FHEO/documents/BBE%20Part%20109%20Fair%20Housing%20Advertising.pdf (accessed 2026-03-21)
Quarterly Refresh Flag
Review by 2026-06-19. Re-check Gemini image-generation naming, mobile capture steps, Redo with Pro behavior, export options, and any plan-specific limits before updating or republishing this article.
Related Workflows
How to Turn an Empty Room Photo Into 3 Virtual Staging Styles With Gemini
Use Gemini on desktop or mobile to turn one empty room photo into three believable virtual staging styles for listing prep.
How to Turn Vacant Room Photos Into a Quick Virtual Staging Concept Deck With AI
Use Gemini to stage multiple vacant room photos and turn the strongest outputs into a quick concept deck for owner, seller, or investor review.
How to Mock Up Wallpaper and Accent Wall Ideas From One Room Photo With Gemini
Use Gemini to try wallpaper and accent wall concepts on a real room photo before you commit to a design direction.
Help keep PromptedWork sharp
Share a broken step, outdated prompt, or general feedback. This is only for improving this specific workflow.